Formatting your book with Vellum: Why I love it and why haters gotta stop hating.

taken from vellum.pub

Vellum is expensive–$250.00 for unlimited ebook and paperback capability–and I never recommend it because I’m sensitive to people not being able to afford it. Also, it only runs on a Mac and if you don’t want to pay to use MacinCloud on a PC, Vellum won’t be an option for you anyway.

But for those authors who can afford it, or hire a formatter who uses it, it can be a wonderful software that can generate book files in just a couple of hours. (Some authors say minutes, but I’ve found it can take a little longer than that–especially if you have to create the front and back matter from scratch.) I’ve formatted all my books with Vellum–even backlist titles got a facelift when my fiancé purchased a Mac and Vellum for me.

It’s amazing, and I absolutely have no argument with it.

But some authors do. They say they are disappointed in the limited capabilities and I’ve heard the familiar refrain a few times. Enough to make me mad. I take offense when someone feels the need to nitpick this software. Brad West and Brad Andalman did the indie community a huge service designing this software and continually updating it and adding new features. Still, this isn’t enough for some authors.

When I’m feeling particularly spunky, I’ll challenge them with this: a reader might appreciate the little extras you can deliver, but the real reason readers buy your book is for the story. Have you written a good book? That should be your main priority, not moaning because you can’t add color chapter headings, or fancy maps, or any other crazy stuff you want to add in a lame attempt to hide a mediocre story.

That might seem a little harsh, but it seems to me the writers who complain the loudest are the first time authors who haven’t understood that they are going to have to fight tooth and nail to sell their book and formatting is the least of their worries. (During COVID a whopping 88,000 books are being published very MONTH! — source, Alex Newton from K-lytics.)

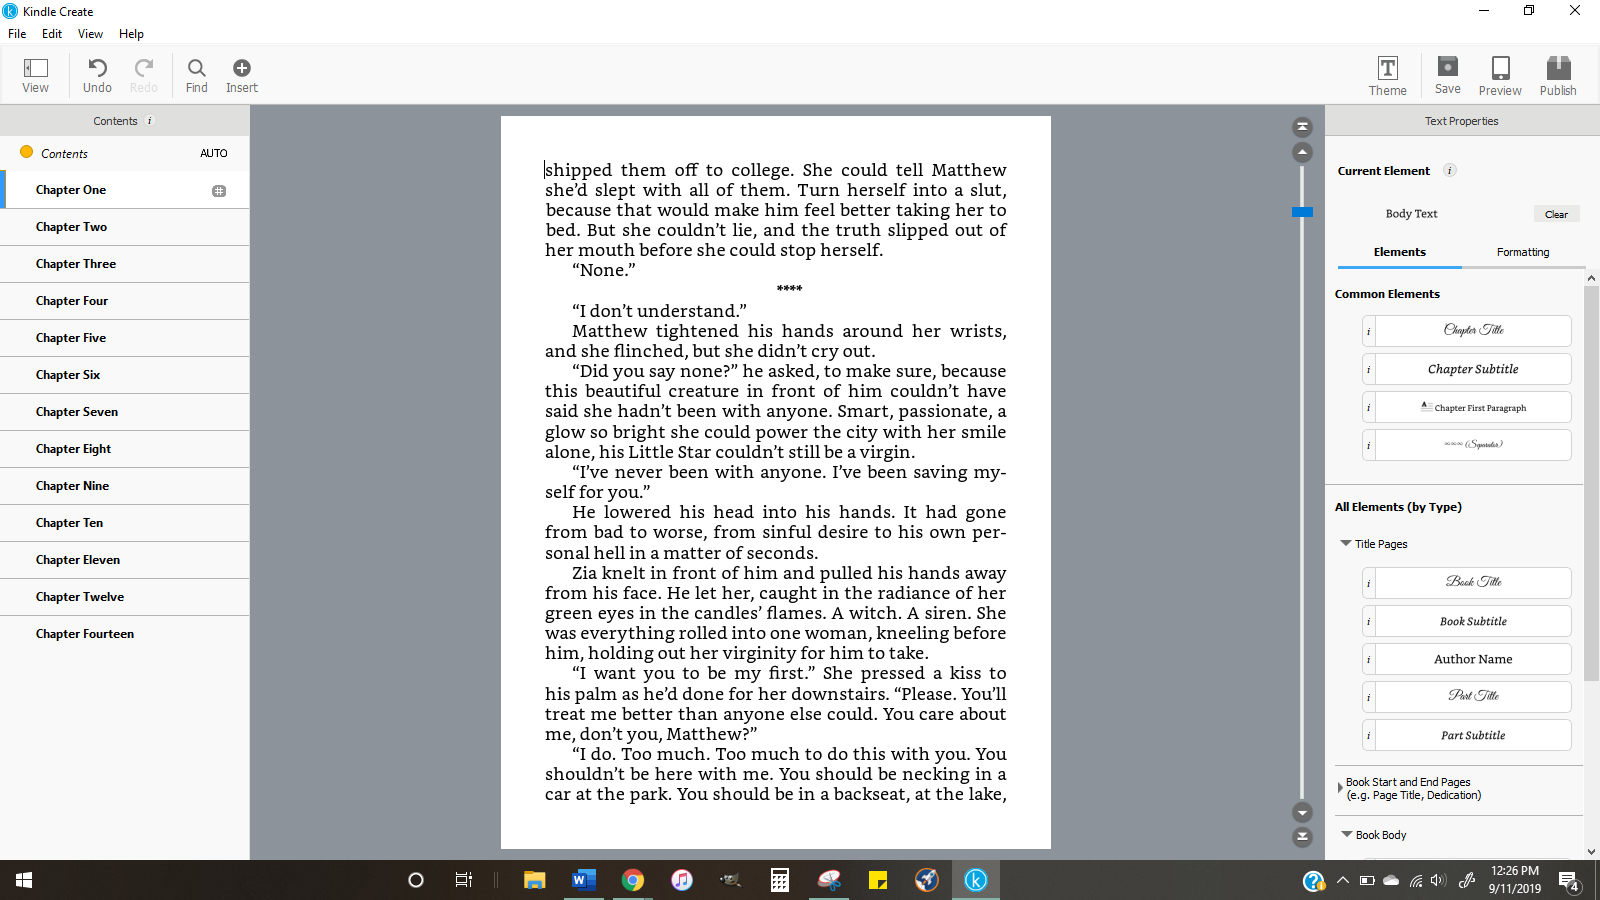
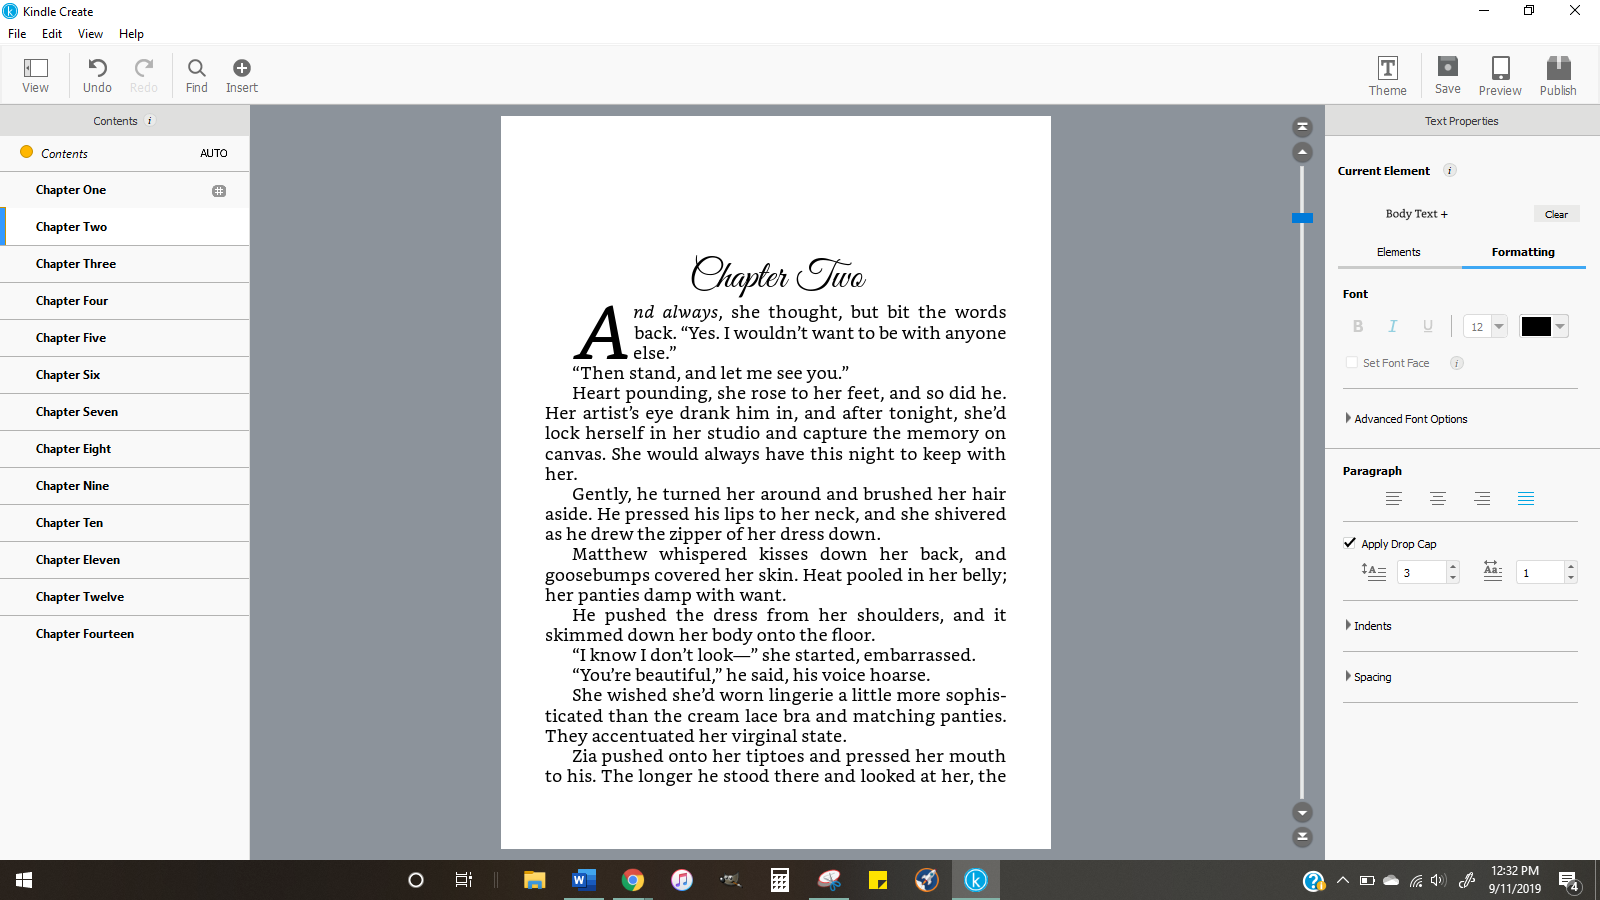
Of course you want the inside of your book to look professional and in my mind you only need four things:

  1. Full Justification
  2. Drop Cap for Chapter Starts
  3. Professional Chapter Heading
  4. Appropriate page numbers and author name/title in headers and footers

That’s it.

Readers aren’t going to care if the chapter headers are colored images, or if they take the whole page. What they’re going to care about is if the story grabs them from the first sentence, or if there are typos or other mistakes that will pull them out of the story. They care if your story will engage them to the very last line.

Can you guarentee your readers that?

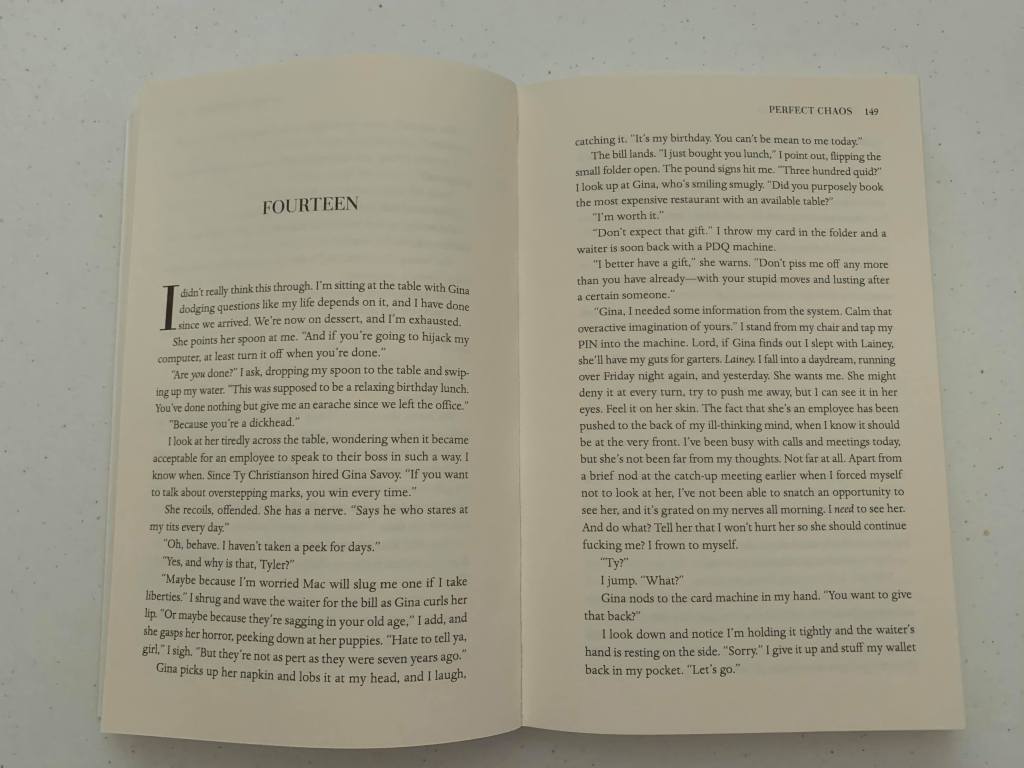
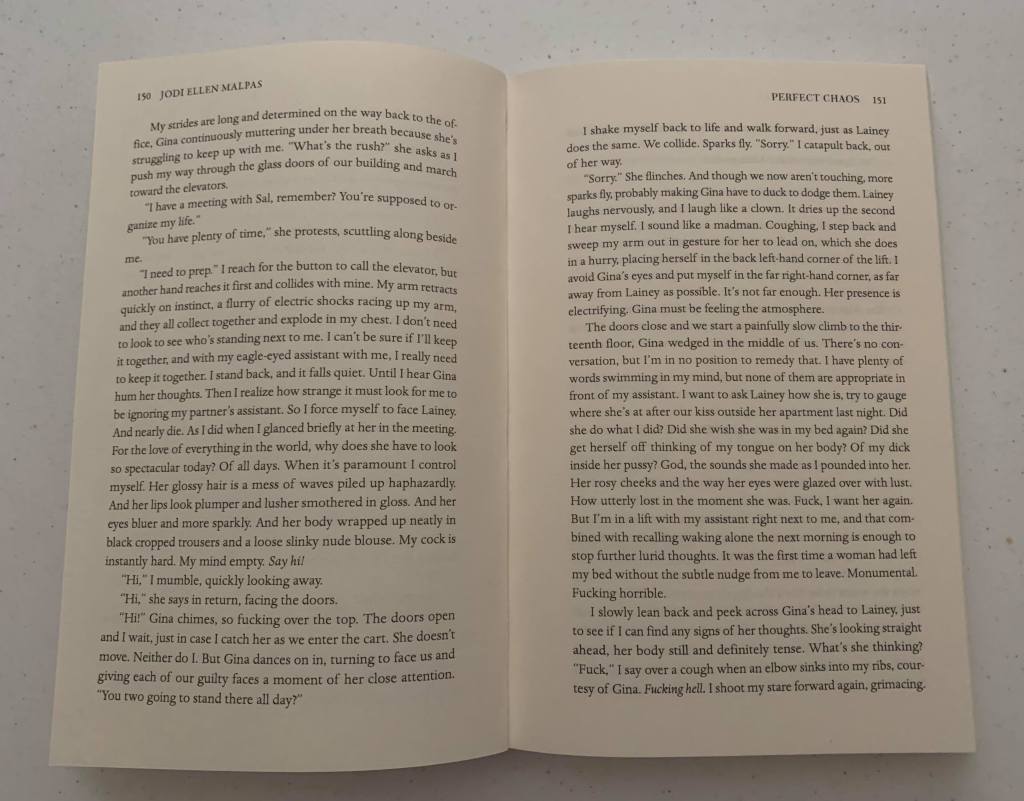
I bought a Jodi Ellen Malpas book on Amazon and I was surprised to see it came from Ingram Spark’s print on demand. She self-published this book. She’s a New York Times best-selling author. She can afford a team that can put together a beautiful book. And the formatting inside is plain. As plain as you can make the inside of a book. Because she knows her fans are not buying the book for how it looks, but for the story inside.

Here are my list of reasons why I do the minimum formatting in my books:

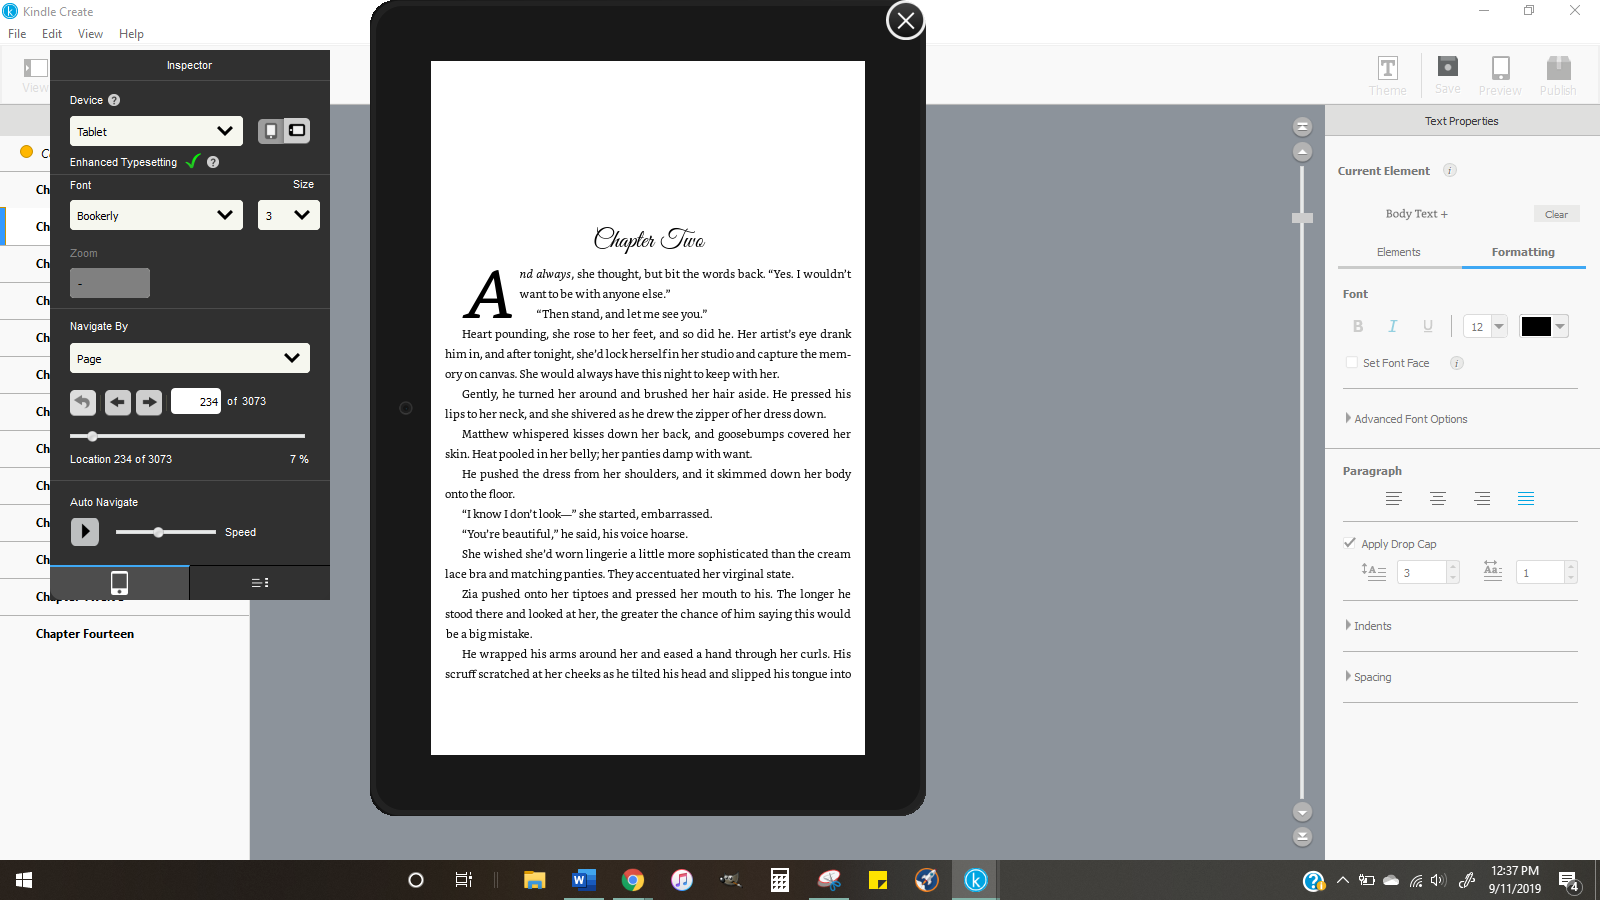
  1. Kindles can only handle so much. Not everyone reads on a tablet. Some people really do read on a Kindle Paperwhite, or a Voyage (that has been discontinued), Kindle Oasis, or other e-readers with limited functions. Readers can set the font so who cares if you’re bitching Vellum has a short list to choose from? Some e-readers are black and white so what does it matter if you insist on inserting colored chapter headers? E-readers strip a book of almost everything but the actual text that makes the story. If your story isn’t engaging they’ll return your book and read some thing else.
  2. Fancy formatting is a paperback perk. How many of those do you sell? Unless you write non-fiction or children’s books, then that’s something different. If you want to write in commercial, mainstream fiction, your e-books will far outsell your paperbacks. If you’re going to a convention, fine. But your cover is going to be on display more prominently than your formatting.
  3. Fancy formatting takes time. Pay for it if you insist on having it. There’s no reason to gripe in Facebook groups about how Vellum won’t suits your needs. There are other programs that will, like InDesign. If you don’t know how to use it, either learn or hire someone who does. You don’t need to complain in forums about a software you’re unhappy with. Deal with it because for every person it disappoints, it makes twenty others happier than hell.
  4. Story will always come first. Yes it’s exciting to publish and you want your book to be perfect. But your story should be the most perfect thing about your book followed by the cover. Readers will appreciate a cleanly formatted book. I know I have tossed books aside that are not formatted properly. I appreciate a plain format and a compelling story much more than a boring story with pretty chapter headers. I’ll know what the author cared more about and I won’t be impressed.

I’ll defend Brad and Brad. They did the indie community a huge courtesy developing a software that makes book formatting easy. The software produces a .mobi, epub, and generic epub for Nook, Google Play and Apple Books. It produces a PDF for the paperback. Vellum creates a beautiful book and when you’ve written a beautiful story, what it offers should be enough.


Agree? Disagree? Let me know!

Thanks for stopping by. Until next time!


Kindle Create: for Kindle and Paperbacks for KDP

kindle create for blog 1
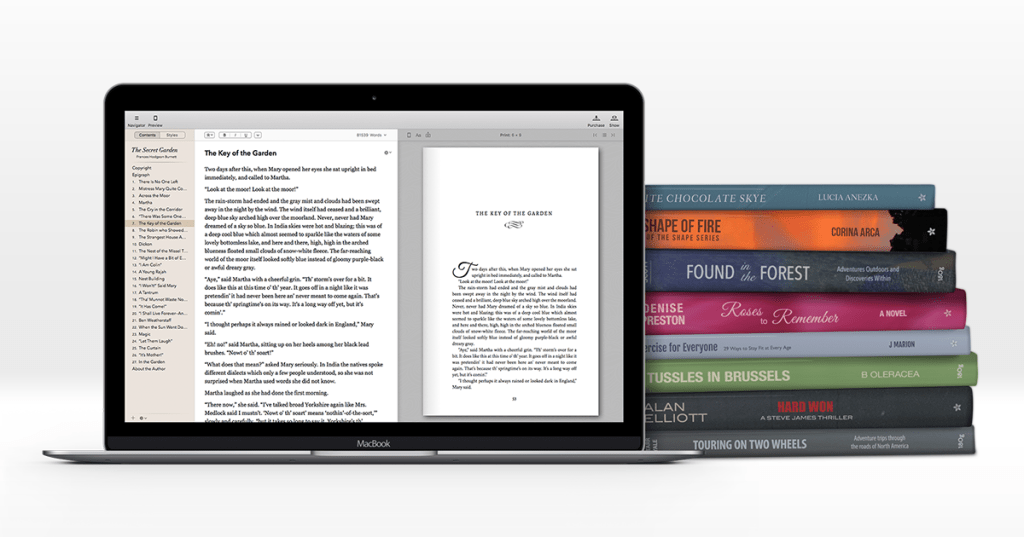
Formatting for an ereader and paperback grows easier and easier all the time with the tools that are continually created for indie authors. These days it’s easier than ever to pay someone for their time if they have Vellum, a formatting software available on Mac computers.

If you don’t have the connections or the cash to pay someone to do it for you, or you want to remain in control (it’s hard and maybe costly to approach your formatter every time you want to make a change your to your book; for instance if you want to update your back matter, or you swapped out your cover and need to change the attribution to the photographer and add a new photo id) Draft2Digital offers a free formatting on their website that also formats your book for paperback and ereader. Draft2Digital creates a .mobi file and an epub you can download so you can go wide with your files if you like.

But if you are only going to publish on Amazon, there is another software you can try. Kindle Create offers both Kindle and paperback formatting, and both files are sent directly to your KDP dashboard enabling you to publish quickly and easily.

There are drawbacks to the software however: the files can only be used on Amazon. Since the finished files are sent directly to your KDP dashboard, they are not “yours.” When you format with D2D, you download the files they generate for you, and you can use them wherever you please. With Kindle Create, that is not the case. Also if you make ANY changes to your document, those changes are stuck inside the software, but that might not matter to you if you’re only uploading changes to publish on Kindle. It is something to keep in mind, though.

How do you get started?

Download the Kindle Create software. Download how you would normally download new software. Sometimes that means finding the file in your Downloads and clicking on it to start the install process if it doesn’t install automatically. Accept terms and conditions. The install process only takes a few moments.

Then it will ask if you want to resume an existing project or start a new one,  but first you need to enable Early Access so you can create paperbacks with the software.

Click on Help in the upper left hand corner, then Settings. Check Enable Beta Features.

kindle create for blog 2

Then you can import your Word File. It only takes a moment.

kindle create for blog 3

kindle create for blog 4

Click Continue when you’re done.

kindle create for blog 5

Your Word file for your book should have your Title Page, your Copyright Page, Dedication, Acknowledgements, and any back matter you want. The only thing Kindle Create will generate for you is the Table of Contents.  Click on Insert in the upper left hand corner and it will look like this:

2019-09-11

kindle create for blog 6

When you upload your file, what you see is very generic, and it’s up to you to design your manuscript how you want it to look. This is the first page of The Years Between Us.

Choose a Theme by clicking on the THEME in the upper right hand corner. Unfortunately, there are not many to choose from, but actually, there are not many to choose from when you format in Vellum, either, so don’t feel like you’re missing out if you use Kindle Create.

kindle create for blog 7

The rest is a bit time consuming as you have to go page by page and add the things you want. For example, changing one scene break does not change them all:

2019-09-11 (1)

2019-09-11 (2)

So you may just want to stick with asterisks when you format, unless you are formatting something a little on the shorter side.

The same is true for the chapter start drop caps. You need to put your cursor at the beginning of every paragraph and then choose drop cap on the right under Formatting.

2019-09-11 (3)

Kindle Create will nudge you to save every so often, and it’s in your best interest, in any case. It also has a handy UNDO feature in case you mess up somehow.

Like any software, there’s a small learning curve, but it didn’t take me long to play around with it and begin formatting my manuscript how I want it to look.

Once you’re all done, there’s a Preview feature where you can take a look at your book page by page. This is a good idea while you’re still in the software and not in the online previewer on your KDP Dashboard.

2019-09-11 (4)

Go through your book page by page. Make sure you didn’t miss any scene breaks, or anything else you’re going to want to change. Flipping through it will take some time, but remember that poor formatting can pull a reader from your story, so you want it to look its best.


Unfortunately, I cannot take you further than this. Pressing Publish will move the files to my KDP Dashboard, and The Years Between Us is already published. But KDP has several tutorials you can watch to see how the process is done. They have a fabulous help section, and you can find anything else out that you’ll need to know.

Look at a typed tutorial here.

Here is a tutorial by KDP on YouTube about Kindle Create. 

Here is another blog post by Just Publishing Advice on their blog. How To Use The Amazon Kindle Create App For Better Ebooks

There are a couple other tutorials that look okay to watch on YouTube, if you search Kindle Create tutorials. The best thing you can do though, is experiment, use the undo button if you do something you don’t like, and save often.

After you publish your files to your dashboard, they will give you options for your paperback such as trim size, and if you want cream or white paper. Your choices will determine the template size for your cover. And you can use the Kindle Cover Creator if you want, to generate a cover for both your Kindle book and paperback, too.

KDP is your one stop shop to formatting, cover creation, and publishing your book!

Have fun!


I wasn’t aware that Kindle Create generated a paperback file until I saw that Daniel Mattia was able to offer a paperback of his book, In Crows’ Claws. We went through some issues he had using Kindle Create in my interview with him a while back. So a big thank you to Daniel and his tips!

Check out his amazing work linked above, and he’s also the creator of an Indie book database called Indie book DB. Check out that site for your next awesome read!


There is a lot that goes into publishing a book, and I hope this can be a starting point if you are new and have no idea where to begin. If you have any questions drop them below, or my DMs on Twitter are open, though it can take me a day or two to get back to you–especially if I have to work that day. Thanks for reading, and good luck to you!


end of blog post graphic